
Sanding Drywall with a Wet Sponge: A Comprehensive Guide
When it comes to sanding drywall, there are various methods and tools that can be used. One such method is sanding drywall with a wet sponge. This technique is gaining popularity due to its effectiveness and ease of use. In this article, we will delve into the details of sanding drywall with a wet sponge, covering the benefits, preparation, step-by-step process, and tips for achieving a smooth finish.
Benefits of Sanding Drywall with a Wet Sponge

There are several advantages to using a wet sponge for sanding drywall:
- Reduces Dust: Sanding drywall can be a dusty process, but using a wet sponge helps to minimize the amount of dust that is released into the air.
- Improves Sanding Efficiency: A wet sponge can help to smooth out the drywall more quickly and evenly than traditional sandpaper.
- Reduces Sanding Lines: The wet sponge can help to eliminate sanding lines, resulting in a more seamless finish.
- Prevents Over-Sanding: The wet sponge provides a better sense of the drywall’s texture, helping to prevent over-sanding.
Preparation
Before you begin sanding drywall with a wet sponge, it’s important to prepare the area and gather the necessary materials:
- Protective Gear: Wear safety glasses, a dust mask, and gloves to protect yourself from dust and debris.
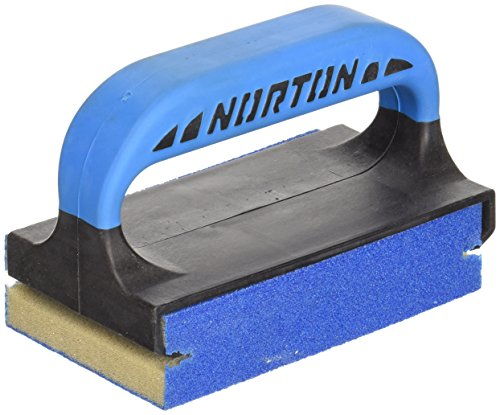
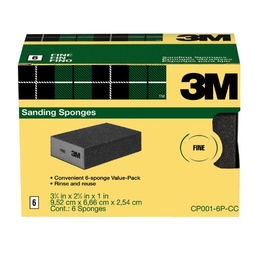
- Wet Sponge: Choose a sponge that is suitable for sanding drywall. A medium-firm sponge is often recommended.
- Water Source: Have a water source nearby to keep the sponge moist while sanding.
- Drywall Compound: If you’re sanding to prepare for painting or texturing, make sure you have enough drywall compound on hand.
- Paint or Texture: If you’re sanding to prepare for painting or texturing, have your paint or texture ready to go.
Step-by-Step Process
Follow these steps to sand drywall with a wet sponge:
- Prepare the Area: Clear the area of any furniture, debris, or obstacles. Cover the floor with a drop cloth to protect it from dust and debris.
- Apply Drywall Compound: If you’re sanding to prepare for painting or texturing, apply a thin layer of drywall compound to the area you want to sand.
- Moisten the Sponge: Dip the sponge into the water source and wring out any excess water. The sponge should be damp, not soaking wet.
- Sand the Drywall: Gently press the damp sponge against the drywall surface and move it in a circular motion. Apply even pressure to avoid creating sanding lines.
- Check for Smoothness: Periodically check the drywall surface for smoothness. If you notice any high spots or sanding lines, go over them with the wet sponge.
- Repeat as Needed: Continue sanding until the drywall surface is smooth and even.
- Clean Up: Once you’re done sanding, clean the area and dispose of any waste properly.
Tips for Achieving a Smooth Finish
Here are some tips to help you achieve a smooth finish when sanding drywall with a wet sponge:
- Start with a Coarse Sponge: If you’re dealing with significant imperfections, start with a coarse sponge and gradually move to a finer one for a smoother finish.
- Keep the Sponge Damp: Continuously moisten the sponge with water as you sand to maintain its effectiveness.
- Work in Small Sections: Focus on one section at a time to ensure even coverage and prevent sanding lines.
- Use a Level: If you’re sanding to prepare for painting or texturing, use a level to ensure the surface is smooth and even.
- Let it Dry: Allow the drywall compound to dry