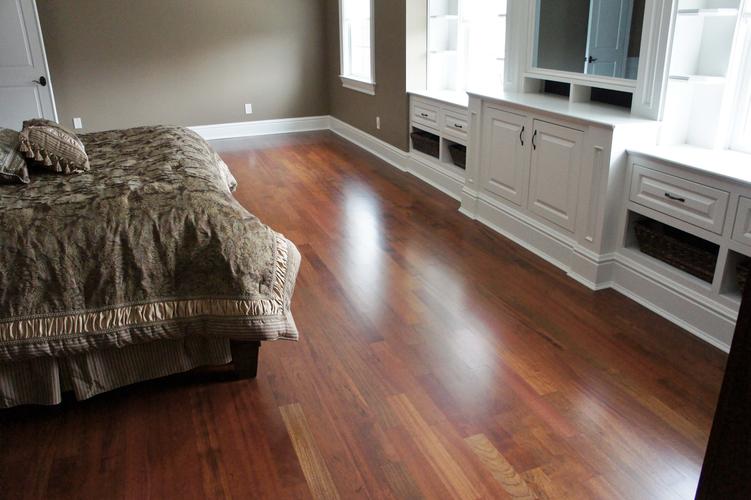
Sanding Hardwood Floors: A Comprehensive Guide for You
When it comes to enhancing the beauty and longevity of your hardwood floors, sanding is a crucial step. Whether you’re dealing with scratches, dents, or simply want to refresh the look of your floors, this guide will walk you through the entire process. From understanding the benefits of sanding to choosing the right equipment and techniques, we’ve got you covered.
Understanding the Importance of Sanding Hardwood Floors
Hardwood floors are a popular choice for their timeless elegance and durability. However, over time, they can accumulate scratches, dents, and wear that can detract from their appearance. Sanding is the process of removing the top layer of wood to reveal a smooth, even surface. This not only improves the aesthetic appeal but also extends the life of your floors.

By sanding your hardwood floors, you can:
- Eliminate scratches and dents
- Improve the overall appearance of the floors
- Prepare the surface for refinishing or restaining
- Extend the life of your floors
Choosing the Right Sanding Equipment
Before you start sanding your hardwood floors, it’s essential to have the right equipment. Here’s a list of the most important tools you’ll need:
| Tool | Description |
|---|---|
| Sanding Machine | A power tool designed to sand large areas quickly and efficiently. |
| Sanding Blocks | Handheld sanding blocks for sanding tight spaces and edges. |
| Sanding Paper | Various grit levels (e.g., 60, 80, 100, 120, 150, 180, 220) for different stages of sanding. |
| Edging Tool | A tool designed to sand the edges of the floor where the machine cannot reach. |
| Vacuum | A vacuum cleaner to remove dust and debris during the sanding process. |
Preparation Before Sanding
Before you start sanding, it’s crucial to prepare your hardwood floors to ensure a smooth and successful process. Here are some key steps to follow:
- Remove all furniture and appliances from the room.
- Cover doorways and baseboards with plastic or cardboard to protect them from dust.
- Seal off the room to prevent dust from spreading to other areas of your home.
- Inspect the floors for any loose or damaged boards and repair them before sanding.
The Sanding Process
The sanding process can be broken down into several steps:

- Start with a Coarse Grit Sandpaper: Begin with a coarse grit sandpaper (e.g., 60 or 80) to remove the majority of the surface imperfections.
- Move to a Fine Grit Sandpaper: Once the majority of imperfections have been removed, switch to a finer grit sandpaper (e.g., 100 or 120) to achieve a smoother surface.
- Repeat the Process: Continue switching to finer grit sandpapers (e.g., 150, 180, 220) until you reach the desired level of smoothness.
- Use Sanding Blocks for Edges and Corners: Use sanding blocks to sand the edges and corners of the floor where the machine cannot reach.
- Edging Tool for Hard-to-Reach Areas: Use an edging tool to sand the areas around doorways, baseboards, and other hard-to-reach spots.
Finishing Touches
Once the sanding process is complete, it’s time to apply a finish to protect your hardwood floors. Here are some popular options:
- Oil-Based Finish: Provides a durable, glossy finish that is easy to maintain.
- <
