
DIY Aquarium Sand Vacuum: A Comprehensive Guide
Keeping your aquarium clean is essential for the health of your fish and the overall beauty of your aquatic environment. One of the most challenging tasks in aquarium maintenance is vacuuming the sand. While store-bought vacuum cleaners can be expensive and sometimes inefficient, a DIY aquarium sand vacuum can be a cost-effective and customizable solution. In this article, we will explore the various aspects of creating your own aquarium sand vacuum, from materials and tools to assembly and usage.
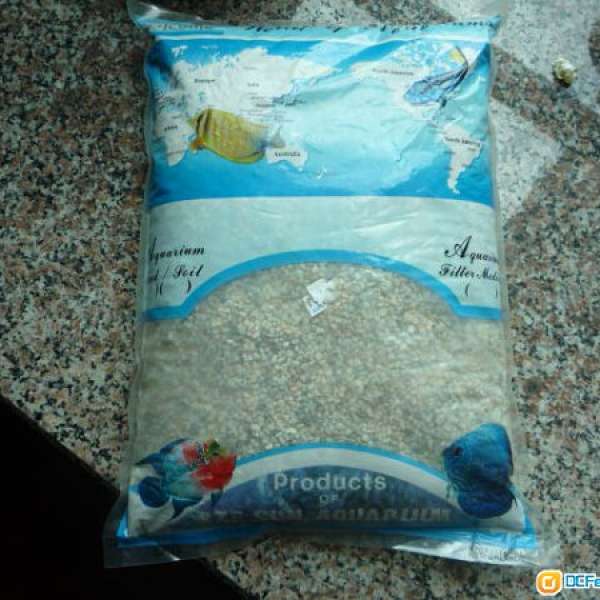
Materials and Tools Needed

Before you start building your DIY aquarium sand vacuum, you’ll need to gather the following materials and tools:
| Material/Tool | Description |
|---|---|
| Plastic syringe | Used to create the vacuum mechanism |
| Plastic tubing | Connects the syringe to the aquarium |
| Plastic bottle | Used as a reservoir for the vacuum cleaner |
| Scissors | Used to cut the tubing and bottle |
| Hot glue gun | Used to secure the connections |
| Waterproof tape | Optional, for additional security |
Building the Vacuum Mechanism
Once you have all the necessary materials, you can start building the vacuum mechanism. Here’s a step-by-step guide:
- Remove the plunger from the syringe and set it aside.
- Using scissors, cut a small hole in the bottom of the plastic bottle, just large enough to fit the syringe’s plunger.
- Insert the plunger into the hole and secure it with hot glue or waterproof tape.
- Attach one end of the plastic tubing to the syringe’s nozzle and the other end to the bottle’s opening.
- Ensure that the connections are secure and there are no leaks.
Assembling the Vacuum
Now that the vacuum mechanism is complete, you can assemble the entire vacuum. Follow these steps:
- Place the bottle on a flat surface, ensuring that it is stable and won’t tip over.
- Insert the syringe into the bottle, making sure that the plunger is fully extended.
- Secure the syringe to the bottle using hot glue or waterproof tape.
- Attach the vacuum cleaner to the aquarium’s filter intake or directly to the aquarium’s water surface.
Using the DIY Aquarium Sand Vacuum
Once your DIY aquarium sand vacuum is assembled, you can start using it to clean your aquarium. Here’s how to do it:
- Submerge the vacuum cleaner in the aquarium water.
- Use the syringe plunger to create suction, which will draw the sand into the bottle.
- Move the vacuum cleaner across the bottom of the aquarium, ensuring that you cover all areas of the sand bed.
- Empty the bottle into the aquarium’s filter or waste container when it’s full.
- Rinse the vacuum cleaner and bottle thoroughly before using it again.
Benefits of a DIY Aquarium Sand Vacuum
Creating your own aquarium sand vacuum offers several advantages:
- Cost-Effective: Building your own vacuum can save you money compared to purchasing a commercial one.
- Customizable: You can modify the design to suit your specific needs and preferences.
- Environmentally Friendly: Using recycled materials for your DIY project reduces waste.
- Educational: Building and using a DIY vacuum can be a fun and educational experience.
Conclusion
Creating your own DIY aquarium sand vacuum is a rewarding project that can help you maintain a clean and healthy aquarium. By following the steps outlined in this guide,