
DIY Outdoor Sand Pit: A Comprehensive Guide for Creating a Fun and Educational Space
Creating a DIY outdoor sand pit can be a rewarding and enjoyable project for anyone looking to add a touch of fun and education to their backyard. Whether you have children or simply enjoy spending time outdoors, a sand pit can provide endless entertainment. In this article, we will explore the various aspects of building a DIY outdoor sand pit, from planning and materials to safety and maintenance.
Planning Your Sand Pit

Before you start digging, it’s essential to plan your sand pit carefully. Consider the following factors to ensure a successful project:
- Location: Choose a spot in your backyard that is easily accessible and away from trees or other obstacles that could cause roots to grow into the pit.
- Size: Determine the size of your sand pit based on the available space and the number of people who will be using it. A standard size for a family sand pit is about 4 feet by 6 feet.
- Depth: The depth of your sand pit should be at least 1.5 feet to provide enough room for play and digging.
- Surrounding Area: Plan for a surrounding area that is level and free of debris. This will make it easier to maintain the sand pit and provide a safe environment for play.
Materials and Tools
Once you have a plan in place, gather the necessary materials and tools for your DIY outdoor sand pit. Here’s a list of items you’ll need:
| Material/Tool | Description |
|---|---|
| Sand | High-quality play sand is recommended for a sand pit. Avoid using beach sand, as it may contain harmful bacteria and debris. |
| Concrete Mix | Use a concrete mix to create a solid foundation for your sand pit. This will prevent the sand from shifting and ensure the pit’s stability. |
| Forming Material | Use wood or metal to form the sides of the sand pit. This will help maintain the shape of the pit during the concrete curing process. |
| Shovel | A shovel will be necessary for digging the pit and for maintenance tasks. |
| Water | Water is needed to mix the concrete and to keep the sand moist during play. |
| Stakes and String | Use stakes and string to mark the boundaries of the sand pit during the planning phase. |
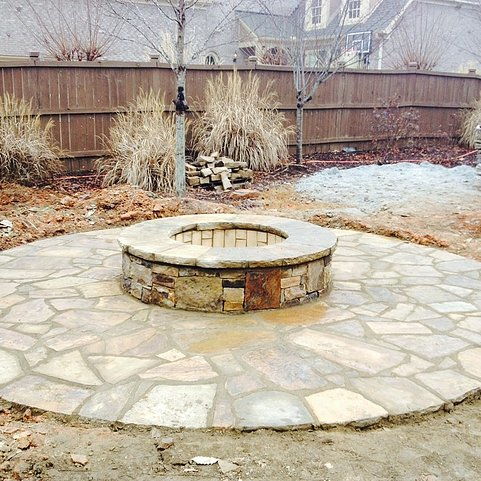
Building the Sand Pit
Follow these steps to build your DIY outdoor sand pit:
- Mark the Location: Use stakes and string to mark the boundaries of your sand pit.
- Dig the Pit: Use a shovel to dig the pit to the desired depth and width. Ensure the sides are straight and the bottom is level.
- Prepare the Foundation: Mix the concrete according to the manufacturer’s instructions and pour it into the bottom of the pit. Allow it to cure for at least 24 hours.
- Form the Sides: Place the forming material around the edges of the pit to maintain its shape. Ensure the material is securely fastened to prevent shifting.
- Fill the Pit: Once the concrete has cured, fill the pit with high-quality play sand. Level the sand and smooth the surface.
- Remove Forming Material: After the sand has settled, remove the forming material and any excess concrete from the edges of the pit.
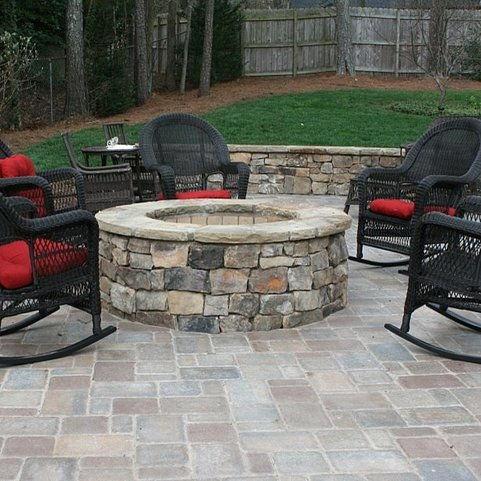
Safety and Maintenance
Ensuring the safety and maintenance of your DIY outdoor sand pit is crucial for a fun and enjoyable experience. Here are some tips:
- Safety: Always supervise children when they are playing in the sand pit. Keep a close eye on them to prevent accidents and ensure they are playing safely.
- Maintenance