
DIY Yard Sand Pit: A Comprehensive Guide for Creating a Fun and Safe Outdoor Play Area
Creating a sand pit in your yard can be a fantastic way to provide your children with a safe and engaging outdoor play space. Not only does it encourage imaginative play, but it also offers a multitude of benefits for their physical and sensory development. In this article, we will delve into the various aspects of building a DIY yard sand pit, from planning and preparation to the final touches that will make it a beloved spot in your garden.
Choosing the Right Location

When selecting a location for your sand pit, consider the following factors:
-
Accessibility: Ensure the area is easily accessible for children and adults alike.
-
Privacy: Choose a spot that offers some privacy, away from the main view of the street or neighbors.
-
Space: Make sure there is enough room around the sand pit for children to play safely.
-
Drainage: Opt for a location that has good drainage to prevent water accumulation.
Designing Your Sand Pit
Once you have chosen the perfect location, it’s time to think about the design of your sand pit. Here are some key considerations:
-
Size: The size of your sand pit will depend on the space available and the number of children who will be using it. A general guideline is to have at least 3 feet of space around the perimeter for play.
-
Shape: A rectangular or square sand pit is the most common shape, but you can also opt for a circular or kidney-shaped design to fit your space better.
-
Depth: A depth of 1 to 2 feet is ideal for children to play comfortably.
-
Surrounding Area: Consider adding a border or fence around the sand pit to keep children contained and prevent them from wandering off.
Materials and Tools
Before you start building, gather the necessary materials and tools. Here’s a list of what you’ll need:
| Material | Quantity |
|---|---|
| Sand | 1 to 2 cubic yards |
| Concrete mix | As per the manufacturer’s instructions |
| Reinforcing wire | As per the manufacturer’s instructions |
| Forming materials (e.g., 2x4s, plywood) | As per the design of your sand pit |
| Tools | Shovel, trowel, mixing bucket, concrete mixer, level, tape measure, and safety gear |
Building the Sand Pit
Follow these steps to build your DIY yard sand pit:
-
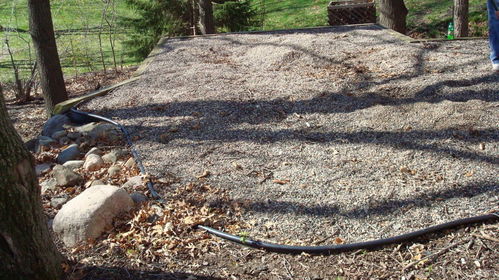
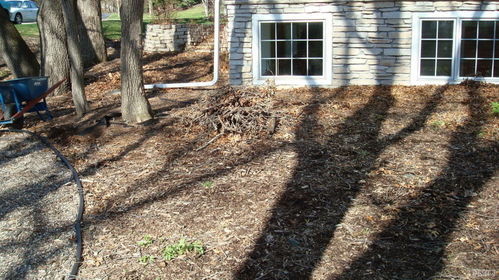
Excavate the area: Clear the chosen location of any debris and dig the hole to the desired depth and size.
-
Prepare the base: Lay down a layer of landscaping fabric to prevent weeds from growing into the sand pit.
-
Construct the form: Assemble the forming materials to create the walls of the sand pit. Ensure the form is level and secure.
-
Reinforce the form: Add reinforcing wire to the form for added stability.
-
Prepare the concrete: Mix the concrete according to the manufacturer’s instructions and pour it into the form.
-
Level the concrete: Use a trowel to smooth the concrete surface and ensure it is level.
-
Allow the concrete to cure: Follow the manufacturer’s instructions for curing time, typically 24 to 48 hours.
-
Remove the form: Once the concrete has cured, carefully remove the forming materials.
-
Fill the sand pit: Add the sand to the desired depth and