
Sand Art Bottle Designs: A Detailed Guide
Creating sand art bottle designs is a delightful and creative way to add a touch of elegance to your home decor. Whether you’re a seasoned artist or a beginner, this guide will help you explore the various techniques and ideas to craft stunning sand art bottles.
Choosing the Right Bottle

The first step in creating sand art bottle designs is selecting the right bottle. Look for a clear, glass bottle with a wide opening to make it easier to work with. Popular choices include wine bottles, beer bottles, and clear plastic bottles. Ensure the bottle is clean and dry before you begin.
Picking the Right Sand
Not all sand is suitable for sand art. You’ll want to use fine, dry sand that doesn’t stick together. Play sand, beach sand, or even sand from a craft store are great options. If the sand is too fine, it may be difficult to manipulate; if it’s too coarse, the design may not be as smooth. Experiment with different types of sand to find the perfect texture for your project.
Creating the Base Layer

Start by creating a base layer for your sand art bottle design. This layer will serve as the foundation for the rest of your artwork. Begin by filling the bottle about one-third full with sand. Use a funnel to prevent spills and ensure an even distribution. Once the base layer is in place, gently tap the bottle on a flat surface to remove any air bubbles and settle the sand.
Adding Colorful Sand
Now it’s time to add the colorful sand. There are many options available, including pre-colored sand, sand with glitter, and even sand that changes color with light. Decide on the colors you want to use and how you want to arrange them. You can create patterns, gradients, or even abstract designs. Use a small spoon or a toothpick to carefully place the colored sand in the bottle, being mindful not to disturb the base layer.
Sealing the Bottle
Once you’re satisfied with your design, it’s time to seal the bottle. There are a few options for sealing, including using hot glue, clear epoxy, or even a bottle cap. Hot glue is a quick and easy choice, but it may not be as durable as clear epoxy. If you choose to use hot glue, apply a small amount to the rim of the bottle and press the cap or sealant into place. If you’re using clear epoxy, follow the manufacturer’s instructions for application and curing time.
Care and Maintenance
Care for your sand art bottle by keeping it out of direct sunlight and avoiding extreme temperatures. If the sand becomes dusty or dirty, you can gently wipe the bottle with a damp cloth. Avoid using harsh chemicals or abrasive materials, as these can damage the sand and the bottle.
Examples of Sand Art Bottle Designs
Here are some examples of sand art bottle designs to inspire your creativity:
| Design | Description |
|---|---|
| Geometric Patterns | Use different colored sands to create intricate geometric shapes and patterns. |
| Abstract Art | Experiment with free-form designs and layering techniques to create abstract art. |
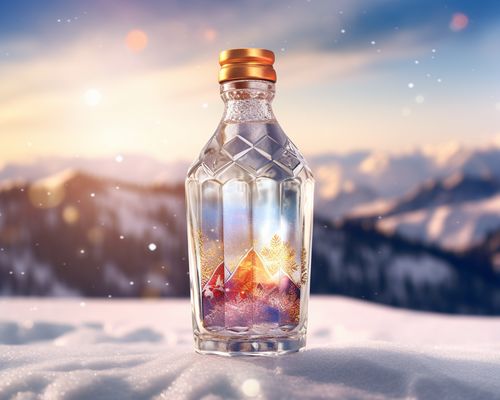
| Seasonal Themes | Change the colors and patterns of your sand art bottle to reflect the seasons. |
| Animal Motifs | Use colored sands to create animal shapes or patterns inspired by nature. |
Creating sand art bottle designs is a rewarding and enjoyable activity that can be tailored to your personal style and preferences. With a little practice and creativity, you’ll be able to craft stunning, one-of-a-kind pieces to add to your home decor.