Sand Blaster for Car Restoration DIY: A Comprehensive Guide
Restoring a car can be an incredibly rewarding DIY project, but it requires patience, skill, and the right tools. One of the most crucial tools for car restoration is a sand blaster. This guide will walk you through everything you need to know about using a sand blaster for car restoration, from choosing the right model to safely operating it.
Choosing the Right Sand Blaster
When it comes to sand blasters, there are several types to choose from, each with its own advantages and disadvantages. The most common types are:

| Type | Description | Advantages | Disadvantages |
|---|---|---|---|
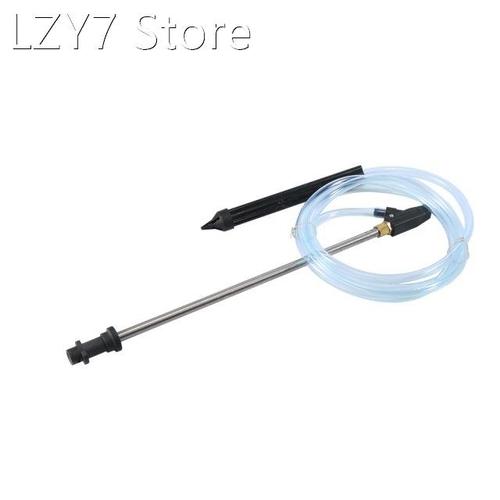
| Wet Sand Blaster | Uses water to reduce dust and clean the surface | Reduces dust, ideal for indoor use | More expensive, requires water supply |
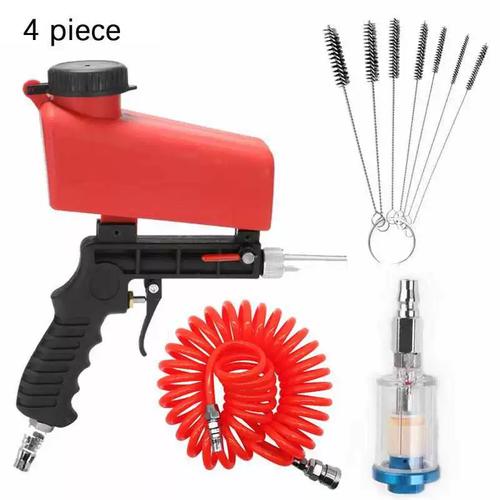
| Dry Sand Blaster | Uses compressed air to propel sand particles | Less expensive, easy to use | Generates a lot of dust, not ideal for indoor use |
| Shot Blaster | Uses steel shots instead of sand particles | More aggressive, can remove rust and paint quickly | More expensive, requires more care to avoid damage |
When choosing a sand blaster, consider the type of work you’ll be doing, your budget, and whether you have access to the necessary equipment, such as a water supply or a dust collection system.
Preparing Your Car for Sand Blasting
Before you start sandblasting, it’s essential to prepare your car properly. Here are some steps to follow:
-
Remove all parts that could be damaged by sandblasting, such as glass, rubber, and plastic.
-
Clean the surface to remove any dirt, grease, or loose paint.

-
Secure the car to prevent it from moving during the sandblasting process.
-
Protect the surrounding area by covering it with plastic or drop cloths.
Using the Sand Blaster
Once your car is prepared, it’s time to start sandblasting. Here are some tips to help you get the best results:
-
Start with a low pressure and gradually increase it as needed.
-
Move the sand blaster in a steady, sweeping motion to avoid creating deep scratches.
-
Keep the nozzle about 6-8 inches away from the surface to prevent damage.
-
Change the sand media as needed to maintain its effectiveness.
Safety Precautions
Sandblasting can be a dangerous process if not done correctly. Here are some safety precautions to follow:
-
Always wear protective gear, such as safety glasses, gloves, and a dust mask.
-
Ensure proper ventilation to avoid inhaling dust particles.
-
Keep a fire extinguisher nearby in case of a fire.
-
Never point the sand blaster at anyone or anything that could be damaged.
Post-Sand Blasting
After sandblasting, your car will likely have some rough edges and sand particles stuck in the surface. Here’s what to do next:
-
Use a wire brush or sandpaper to smooth out any rough edges.
-
Remove any remaining sand particles with a vacuum cleaner or compressed air.
-
Wash the car to remove any remaining dust and debris.
With these tips and precautions, you should be able to successfully use a sand blaster for car restoration. Remember that patience and practice are key to achieving the best results
