
Sand Glitter Art: A Mesmerizing Craft That Captivates Your Senses
Have you ever wondered what it feels like to create art with the gentle touch of sand? Sand glitter art is a unique and captivating craft that allows you to unleash your creativity while working with the beauty of nature. In this article, we will delve into the world of sand glitter art, exploring its history, techniques, materials, and the reasons why it has become a favorite among artists and enthusiasts alike.
History of Sand Glitter Art

Sand glitter art has its roots in the traditional Japanese art form of sand painting, known as “suna-eki.” This ancient practice involves using colored sand to create intricate designs on flat surfaces. Over time, artists around the world have embraced this technique, adapting it to their own styles and preferences. Today, sand glitter art has evolved into a diverse and vibrant art form that is enjoyed by people of all ages and backgrounds.
Techniques and Materials
Creating sand glitter art requires a few essential materials and techniques. Here’s a breakdown of what you’ll need:
| Material | Description |
|---|---|
| Sand | High-quality, fine-grained sand is ideal for sand glitter art. You can find it at craft stores or beach sand, but make sure it’s clean and free of debris. |
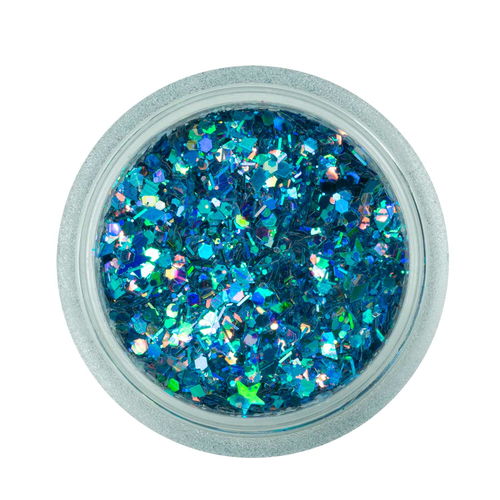
| Glitter | Choose a variety of glitter colors to add shimmer and sparkle to your designs. You can use regular glitter or glitter that is specifically designed for sand art. |
| Adhesive | Use a strong, non-toxic adhesive to secure the sand and glitter to your surface. Epoxy or craft glue are good options. |
| Brushes | Small, fine brushes are essential for applying the sand and glitter in precise patterns. |
| Surface | Select a flat, smooth surface that can withstand the weight of the sand and glitter. Canvas, wood, or glass are popular choices. |
Once you have your materials, here’s a step-by-step guide to creating sand glitter art:
- Prepare your surface by cleaning it thoroughly and applying a thin layer of adhesive.
- Using a brush, apply a layer of adhesive to the desired area on your surface.
- Begin adding sand to the adhesive, pressing it down firmly to ensure it sticks well.
- Once the sand is in place, sprinkle glitter over the surface, making sure to cover all areas.
- Use a soft cloth to gently brush away any excess glitter.
- Allow the adhesive to dry completely before displaying your masterpiece.
Benefits of Sand Glitter Art
Sand glitter art offers numerous benefits, both for artists and viewers:
- Stress Relief: The process of creating sand glitter art is meditative and can help reduce stress and anxiety.
- Creativity: This craft allows you to express your creativity in a unique and visually stunning way.
- Relaxation: Working with sand and glitter can be a relaxing and enjoyable experience.
- Decorative: Sand glitter art can be used to decorate homes, offices, and other spaces, adding a touch of elegance and charm.
Popular Sand Glitter Art Designs
Sand glitter art can be created in a wide range of designs, from simple patterns to intricate scenes. Here are some popular designs:
- Floral Patterns: Create beautiful floral arrangements using a variety of colors and shapes.
- Animal Portraits: Capture the essence of your favorite animals with detailed and vibrant designs.
- Landscapes: Bring serene landscapes to life with mountains, rivers, and skies.
- Abstract Art: Experiment with colors and shapes to create abstract, thought-provoking pieces.