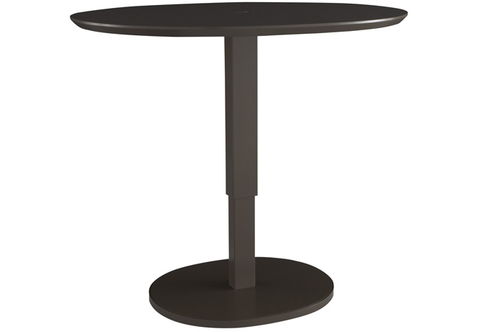
Sanding a Table: A Comprehensive Guide
Whether you’re refinishing an old wooden table or building a new one, sanding is a crucial step in achieving a smooth, even finish. Sanding not only removes imperfections but also prepares the wood for staining or painting. In this detailed guide, we’ll explore the various aspects of sanding a table, from choosing the right tools to applying the final finish.
Understanding the Sanding Process

Sanding is the process of smoothing wood by removing its outer layer using an abrasive material. This can be done manually with sandpaper or with power tools like sanders. The goal is to create a level, smooth surface that is ready for finishing.
Before you start sanding, it’s important to understand the different types of sandpaper and sanders available. Sandpaper comes in various grits, which refer to the coarseness of the abrasive particles. A lower grit number indicates a coarser paper, while a higher grit number indicates a finer paper.
| Grit Number | Description |
|---|---|
| 60-80 | Coarse grit, used for removing paint or varnish |
| 100-120 | Medium grit, ideal for smoothing out rough surfaces |
| 150-180 | Fine grit, perfect for achieving a smooth finish |
| 220-240 | Very fine grit, suitable for final finishing before staining or painting |
Choosing the Right Sandpaper

Selecting the appropriate sandpaper is essential for a successful sanding job. The type of sandpaper you choose will depend on the condition of the wood and the desired finish. Here are some guidelines to help you choose the right sandpaper:
-
Start with a coarse grit (60-80) to remove any paint, varnish, or rough spots.
-
Move to a medium grit (100-120) to smooth out the surface and remove any remaining imperfections.
-
Switch to a fine grit (150-180) to achieve a smooth finish.
-
For a final, polished look, use a very fine grit (220-240) before applying the finish.
Using Sanding Tools

There are several sanding tools you can use to sand a table, including sandpaper, sanding blocks, orbital sanders, and belt sanders. Each tool has its own advantages and is suitable for different stages of the sanding process.
Sanding blocks are ideal for sanding small areas or curves. They provide a stable surface for sandpaper and allow for more control. Orbital sanders are versatile and can be used for both large and small areas. Belt sanders are powerful and can cover large surfaces quickly but may be less precise.
Preparation and Safety
Before you start sanding, it’s important to prepare the work area and take safety precautions. Here are some tips:
-
Remove any drawers or hardware from the table to prevent damage.
-
Clean the table thoroughly to remove any dust, dirt, or debris.
-
Wear safety glasses to protect your eyes from wood chips and dust.
-
Use a dust mask to prevent inhalation of wood dust.
-
Work in a well-ventilated area to avoid inhaling harmful fumes.
The Sanding Process
Now that you have the right tools and safety gear, it’s time to start sanding. Here’s a step-by-step guide to sanding a table:
-
Start with a coarse grit sandpaper (60-80) to remove any paint, varnish, or rough spots.
-
Use a sanding block or orbital sander to sand the entire surface of the table, moving in the direction of the wood grain.
-
After sanding with the coarse grit
